Set Up a System
Systems allow a user to capture information about where data is stored, whether it is in a flat file, an ERP system, a database, a data warehouse or other locations.
A System’s information and attributes are populated by an API.
As you are setting up a System, you can click the Guidance (  ) icon to open the Guidance panel to view assistance. Refer to Guidance for more information.
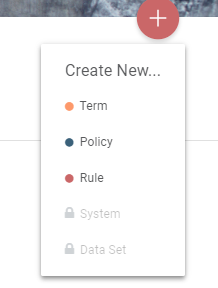
NOTE: If a user does not have permission to add an asset, it displays dimmed with a lock icon on the Quick Add menu.
To add a System:
-
Click the plus sign (Add) icon on the Home page.
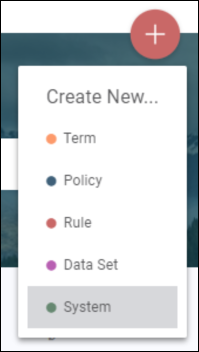
- Select System from the drop-down.
- In the Quick Add modal, enter a System name.
- Enter a Description of the system.
-
Click the Assigned To drop-down and select a person from the list.
NOTE: This person can add sponsors to the asset to facilitate the endorsement process.
-
Do one of the following:
-
Click Full Page Detail to open the detail page for the system once you have entered the System name and Description in the Quick Add modal. Click Save to save changes made on the detail page.
-
Click Quick Add.
NOTE: To access the system after you click Quick Add, search for the System.
-
On the System’s detail page, you can:
-
Enter Location information for the system.
NOTE: Indicates where the system is located within the landscape of the organization.
-
Enter Connection information for the system.
NOTE: This is information on how to connect to system.
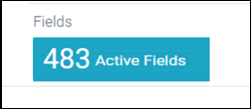
A Fields count is displayed after you have set up the System and imported fields.
You can also enter System Information to provide additional details about the system.
-
Enter Vendor name.
NOTE: The name of the vendor that created the system.
-
Enter Type of System.
NOTE: A description of the type of system (for example, ERP, CRM, BI, or Reporting).
- Enter the Version of the System.
-
Enter Deployment.
NOTE: The deployment details of the system. This is typically used for cloud systems.
Add a contact so that people in your organization know whom to contact with questions regarding this System information.
To add a contact:
-
Click the Contact icon (
 ).
).NOTE: The contact can be a user who does not have an account in IGC™.
-
In the Add Contacts modal, enter the details.
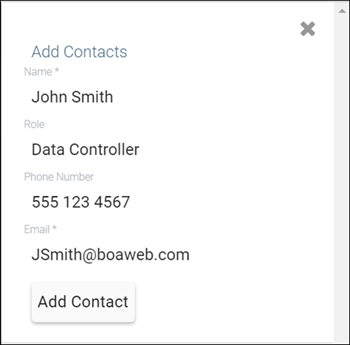
- Click Add Contact; then click OK to close the modal.
- Click Save on the detail page.
Next, you can:
- Share the URL for the System
- View the change history for the System
- Add Supporting Documentation to the System
- Comment on a System
- Add a relationship to other assets